Learn How to Build a Retro Cooler Battery Box - 1967 Chevelle
I’ve never been a huge fan of clutter, especially in the engine bay. Whenever I can, I try to relocate things like the battery and modern stereo equipment to an unseen location. The quagmire Chevelle is no exception. When I decided to use the Spectre dual inlet air cleaner with the headlight funnels, it made it a necessity to relocate the battery to the trunk. In the stock location, the battery sits right behind the headlight and high beam.

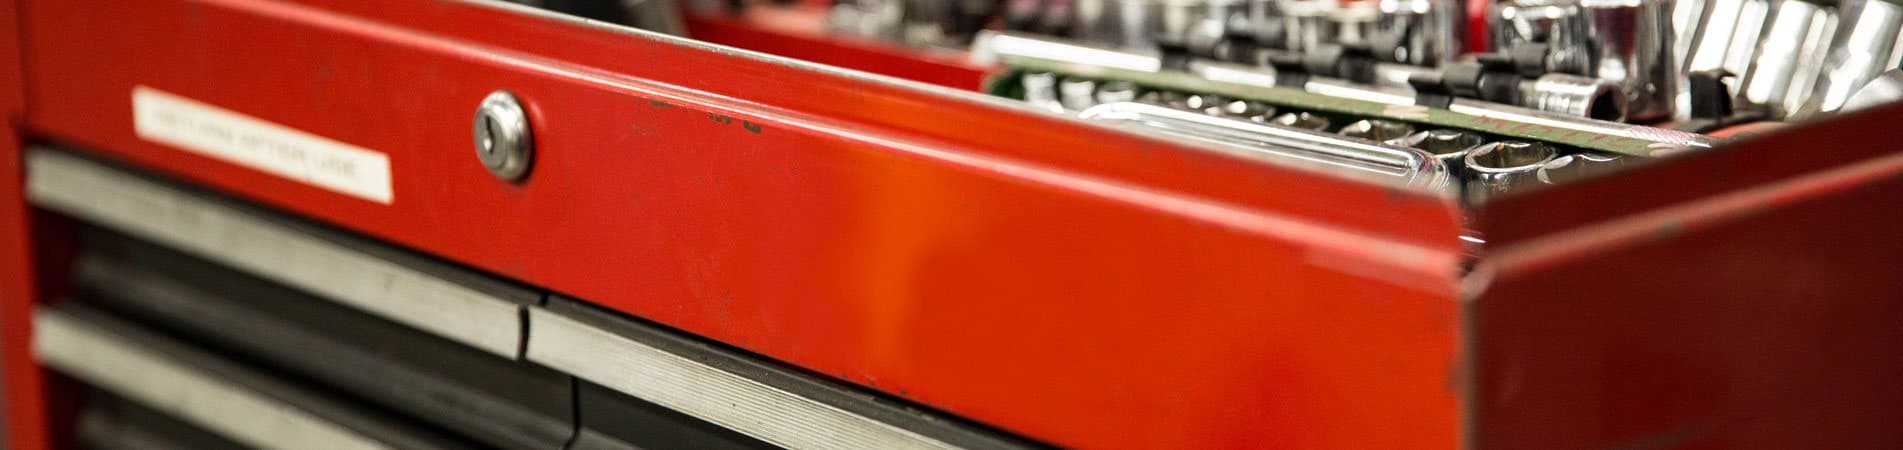
I’m also not a fan of plastic marine battery boxes. Fortunately, I had just this sort of thing in mind when I added Speedway's new Steel Retro Coolers. It’s got a steel body with chrome trim and snap tight handle closure.
The thing I discovered when it came time to actually execute the project, was that the location I wanted to situate the battery box wouldn’t allow removal or installation of the battery without rocking the box inward. Something else I discovered was that the cooler was a little smaller than I had anticipated. No hill for a climber.

My local parts store guys are very patient. Whether it’s the brass fittings, radiator hoses, belts, or in this case, batteries, they’ll pretty much let me rummage around until I find what I need. I had wanted to use the common Group 34/78 size battery in this car. Unfortunately, that size was too big. The largest size I was able to fit in the liner was a Group 35. There’s not really anything wrong with the smaller battery, except the size somewhat limits the cold cranking amps and cranking amps (CCA & CA). I was able to get one that still had about 550 CCA which puts it in the middle of the road as far as what’s available.
I plan on using a gear reduction starter, and it’s a relatively low compression engine with fuel injection. Just lots of cubic inches. It’ll also be driven in the warmer months and not typically started in the winter. This is when cranking amperage really counts. I generally don’t put anything in the daily drivers that’s below 850 CCA. I don’t like jump-starting cars in the cold.
With a battery selected, the project had moved from planning to fully commit. My next task was to figure out how to securely fasten the box to the floor but with the ability to tilt it inward for service.
What I came up with was a clamshell arrangement that hinged at the inside edge. The portion that bolts to the floor is made of 1” square tube with the inside leg made from tubing. The portion that will be welded to the cooler and tilt with it is a combination of 1” angle and ¾” angle steel. Threaded rod will serve as the hinge pin.

Since the area I chose was originally where the spare tire was stored, there were some obstacles to work around. I cut reliefs in both halves to clear the stiffening ribs in the trunk pan.
By lapping the larger angle legs over the top of the smaller pieces I created the clearance needed for the heads of the bolts that fasten the lower frame to the floor.

Once I was satisfied with the fit and operation of the parts, I moved on to spot welding the upper frame to the bottom of the cooler.

I didn’t get a decent photo of the spot welds that fastened the frame to the cooler. Before I welded it, I sanded through the paint on the bottom panel of the cooler along the inner edge of the angle. I burned a short weld every inch along both of the short sides. I was very cautious to move to a cool area with each weld. This accomplished two things, it kept the sheet metal from warping and kept the insulation from catching fire.
I finished off the hinge pin into a long bolt by welding a washer to one end with a nut toward the front. On the opposite end, I drilled a ¼” hole, front and back. These holes allow a hitch pin to lock the tilt feature down.
Something important to note, this cooler is sealed when closed. I used Speedway Motors Seals It Grommet Seal for this part A battery box must be vented to prevent fumes from building up. I plan on running my cables up through the trunk floor and into the front of the box. I drilled two ½” holes for the cables and will also drill a row of ¼” holes along the top edge of the back (quarter panel) side of the cooler. These will allow any off-gassing to escape the battery box and dissipate. Also not installed yet is the keeper that bolts in across the top of the battery to actually hold the battery to the containment box.
