How-to Wire a Gauge Panel
Wiring a car may seem like a daunting process, but hey, so is building a car. The key is to break the larger project down into smaller, more manageable chunks. Lucky for me, I had a wiring pro at my side showing me the proper way to wire my little grey ’33 coupe.
This is how the back of the dash panel looked when we started.
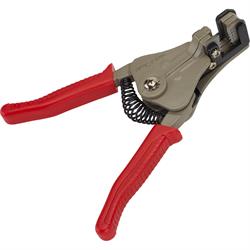
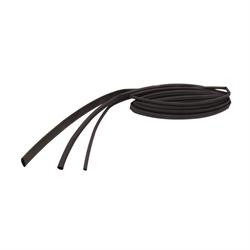
A Painless Wiring kit will come with a bunch of little ends which you are supposed to simply crimp to the end of your gauge wires. But as Tim shook his head, he told me we would do this the right way. He clipped off the little plastic piece from each wire end, stripped the wire, fed it through a ring (or eyelet) terminal and soldered it into place permanently. Then he placed a piece of shrink tube around the wire's new terminal and heated it, protecting the terminal and making the wire look nice.
We started with an easy and obvious string. Each gauge needs a ground wire, so we needed to string those gauges together using the ground. He cut small lengths of black wire to stretch between each gauge, attaching a ring terminal with solder and shrink tube as he went. Eventually, all five gauges were connected with one clean string of ground wire. Tim assured me that shortcutting grounding was not a good idea.
Each gauge has a light bulb, so he did the same thing to string them together, this time with a grey wire, plus he separated the sides. The three wires on the left were shrinked together and the two wires on the right were shrinked together. The two sets were brought together with a third wire (brown). The brown wire will be the one going to the power source to light the gauges. Then he soldered all the wires together with the brown wire, to ensure a good connection. Then more shrink tube to help protect this connection.
To power the gauges, Tim used a red wire with a white stripe. All five gauges were strung together. And other one-off wires were prepared and attached to the gauges.
To make removal of the dash a snap, Tim used WeatherPaks. This way, we only need to disconnect three or four pak connectors to remove the dash. He grouped the wires and each group was neatly shrinked together. Then he slipped an iddy bitty green rubber seal onto each wire end. Then it was time to strip the wires, attach a special WeatherPak terminal with a crimper, and solder the ends to the wire. He slid that green piece down and crimped it into the metal end.
Then he snapped them into the WeatherPak connector. To make everything tidy, he wire-tied the two sets together.
So, less the ignition switch and headlight switch, the dash gauges are done. Check back for the next article which will focus on wiring the ignition, headlights and engine bay.


